8 Crucial Dragon Quest XI Tips

Dragon Quest XI is an incredibly large game with an overwhelming number of places to see and baddies to beat. With 100 hours of content to work through, it can be a little difficult keeping track of your party of misfits and monster slayers. Fortunately we’ve already waded through the legions of darkness to bring you a whole bunch of tips and advice to get you prepared for the trials ahead. From skill trees to slot machines, here’s what you need to know to save the world.
Putting your party together
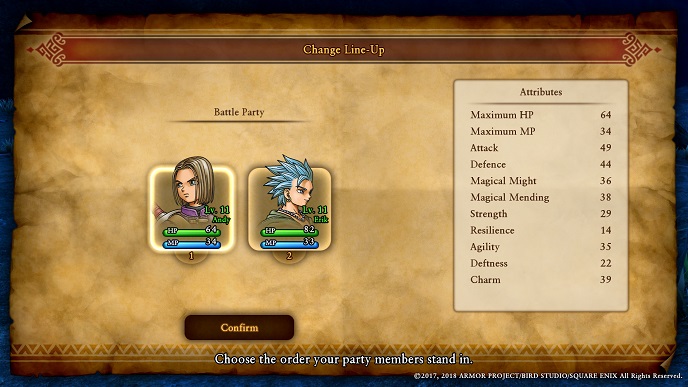
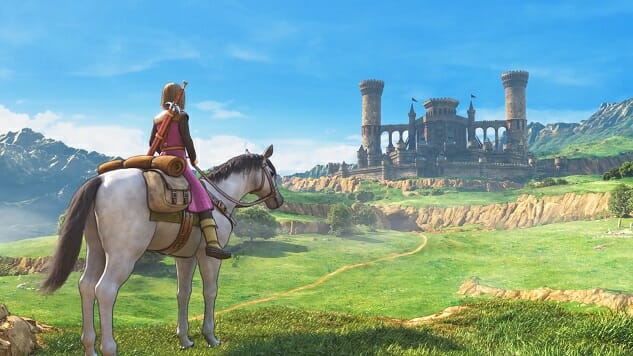
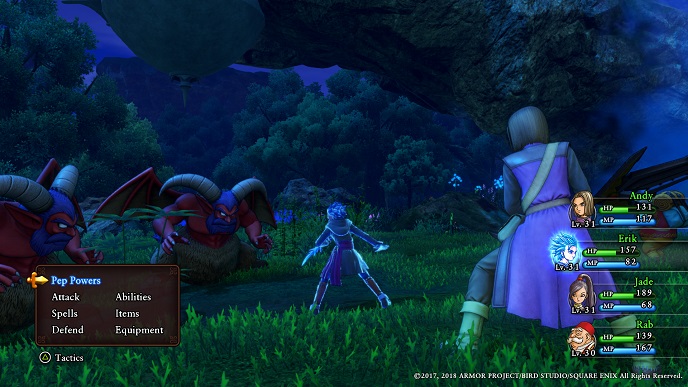
As your journey stretches across the farthest reaches of Erdrea, you’ll soon find yourself accompanied by a number of party members, each with their own unique skill set. There’s a total of eight party members available in the game, but since you’ve only got four active slots to fill during combat, choosing the right team composition can make or break the next encounter. While the team members available to you can change depending on what part of the story you’re on, a good rule of thumb when building your squad is to aim for two melee and two magic characters. By doing this, you can make sure all bases are covered on both magical and physical fronts, ensuring that if anything happens to a member of either vocation, there’s always someone else there ready to do the job. The best people to use for this would be the hero (the main character), Erik, Rab, and Serena. When you eventually unlock the eighth and final party member, they should be swapped in to replace Erik as they also fulfil the role of tank.
On the subject of tanks, the game does contain a tooltip hidden away in one of the many loading screen messages stating that the party member in the first slot of the team will be subject to more attacks than the rest of the party. While I was unable to reliably confirm or deny that the increased threat was significant enough to worth worrying about, I did notice that the hero character seemed to get hit a lot more than his companions. As such, it’s worth making sure that you invest in health and defense gear on the hero specifically where possible.
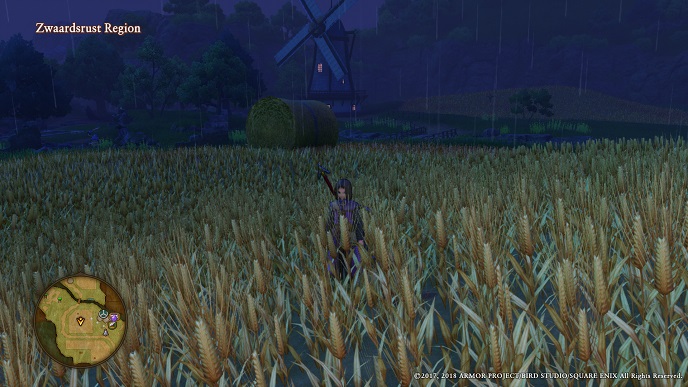
The easiest way to farm XP
While Dragon Quest XI does a great job of keeping your team appropriately levelled throughout the story, there are a handful of sections that seemingly jump in difficulty, forcing you to spend a while grinding away a few levels to stand a better shot at winning the fight. When this happens, the game can feel like it slows to a crawl, but thankfully there is a way of making the grind a little more automated.
The first step is to make sure that your entire team is set to “Fight Wisely” in the tactics menu. By doing this, you give over the controls to the AI as soon as you hit fight, letting the game decide the best course of action during battle. Not only does this mean that you have less menus to navigate through, it also means that you can generally hope to fight more efficiently as the game will often cheat with knowledge it shouldn’t have. This is most apparent when a caster goes in for a 7-10 damage melee attack on an enemy instead of casting a spell because it secretly knows it can get away with it. Regardless of what enemy you’re farming for experience, the AI does a great job of keeping everyone alive and topped up as you grind away. If a battle ends before your healers manage to fill everyone’s health bars up, simply open the main menu then hit the hotkey that opens the map (that’s Triangle for the menu, then Square for the map on PS4), which is a very useful shortcut to the “Handy Heal” option buried in another menu which will automatically heal everyone up in the most efficient way possible.
Eventually your team is going to start running low on MP reserves, and there’s only so many monsters you can finish off before you risk having a party member die. To counter this, you should try to make sure that you find the closest campfire to wherever the level appropriate monsters can be found. By staying close to a campfire, you ensure that you can top up whenever anyone gets low, as well as having access to a statue for reviving fallen party members, removing conditions like poison, and saving your progress after you’ve hit your desired level.
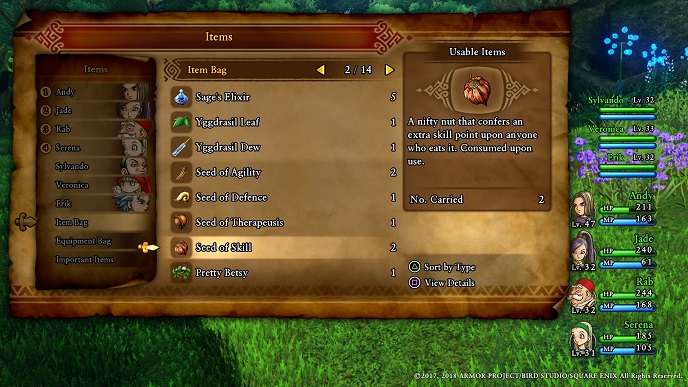
You may come across the Arriviste Vest and Elevating Vest on your travels which offer a bonus to experience and gold earned in battle. While these items might seem like they could provide a lucrative boost, they are actually quite flawed as farming tools. While the Arriviste Vest provides a 10% boost to experience for your entire team, providing someone in the active party is wearing it, this bonus is capped to a maximum of 75 experience per person, which means if you defeated an enemy worth 800 experience, you would only receive a total of 875 experience from that battle. Similar restrictions are placed onto the Elevating Vest too, which also provides an approximate 10% extra gold per battle, but this is capped at 15 gold total. Unless you got these items from a collector’s edition code, by the time you find them in the game at the Puerto Valor casino, you will find that you are already outpacing the capped bonus each vest gives you, and since you have to trade a chest armor slot to equip them, they really aren’t worth using over the other gear available at this point in the game.
Understanding the skill tree
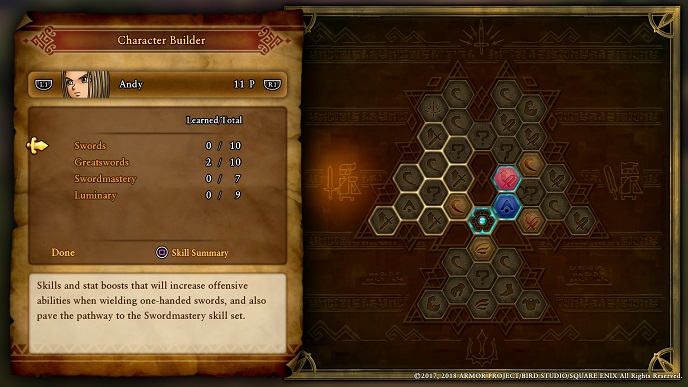
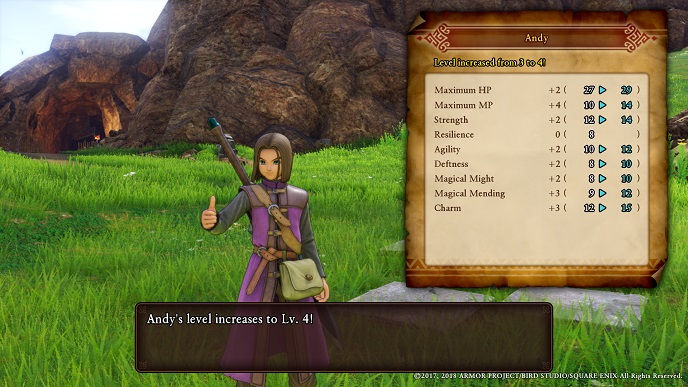
As your party levels up they will begin to amass SP which can be spent to unlock a number of passive and active skills from the skill tree. Each character has a separate wing for their equippable weapons, as well as one of two unique wings that grant them special abilities based on their background. While it might not seem like it at first, these skill trees will expand throughout the game, with some members gaining whole new wings after certain events.
The most important thing to understand when it comes to building up a party member is that you will struggle if you try to stretch them out to cover several categories. For example, Erik is a rogue that has access to swords, boomerangs, knives, and his own unique tree guile. If you attempted to put points into all four of these wings, then Erik would have access to a handful of beginner skills for the three weapon types, but his overall stats and attack strength would be lower than someone who specialized in only one or two of the wings. The more powerful and useful abilities are almost always hidden away further into the respective skill tree wings too, so you’re better off picking a single weapon that works for your composition and focusing on that over trying to be a jack of all trades.

-

-
-
-
-
-
-
-
-
-
-
-
-
-
-
-
-
-
-
-
-
-
-
-
-
-
-
-
-
-
-
-
-
-
-
-
-
-
-
-